
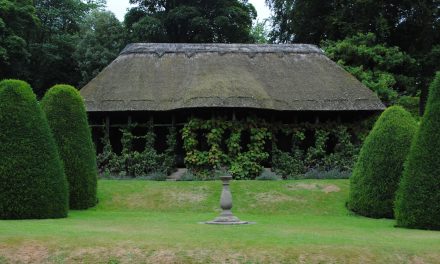
If you are looking for privacy from nosey neighbors, but do not want to pay the expensive cost of building a privacy fence, then you should look at the North Privet; North America’s fastest growing hedge. The North Privet is a hardy and fast-growing plant that can be easily trimmed for year round privacy.
You should totally grow your own hedge. Growing your own hedge is money saving and can be a low maintenance method to ensure privacy at your home. Planting your own hedge is simple. With this tutorial, you will be able to plant North Privet, save money, and reduce the headache that fences or other hedges require.
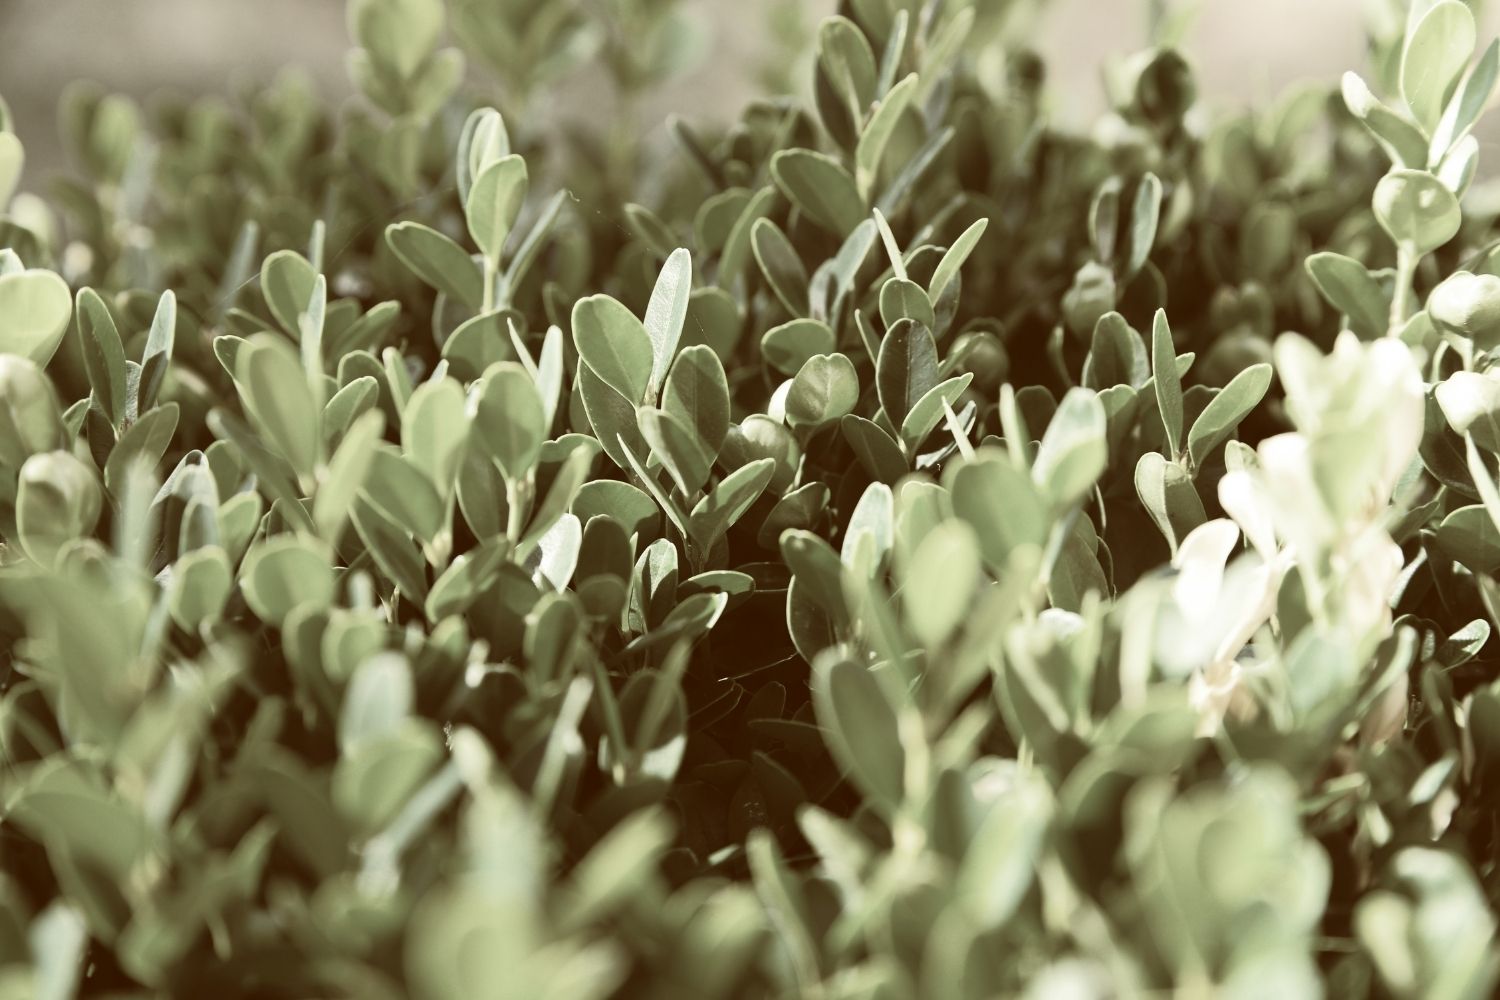
North Privet (Ligustrum x ibolium)
This hedge can grow upwards of twenty-four inches per year and sometimes more. Its fast growth is ideal for sculpting into a privacy hedge. The North Privet is easy to grow and does not require a lot of maintenance or upkeep. Typically, if you purchase the North Privet from your local nursery or order online, it will arrive one to two feet tall with planting instructions. You will want to ensure this plant gets full to partial shade. This hardy plant can thrive in zones four through eight. It’s soil preference is varied and thrives in almost any soil. You should not have to add soil amendments to your planting area.
Soil Preference:
- Acidic
- Alkaline
- Loamy
- Moist
- Rich
- Silty
- Loam
- Well drained
North Privet is deciduous, meaning it will lose it’s leaves in winter. The leaves of the North Privet are shiny and a deep green, making this a wonderful hedge in your yard. The North Privet will grow from eight to twelve feet in height and will look somewhat like a pyramid, but you can trim it in other shapes. This plant responds will to shearing. You can plant the North Privet four to six feet apart to maintain healthy growth.
Tools Needed To Plant
Once you have purchased your North Private at the local nursery or online, you will want to get them in the ground as soon as possible. To successfully plant your North Privet, you will need a few basic tools and materials. A guide book on North Privet is not required, but can be helpful. You will need a spade or shovel, a knife for cutting any binding twine, bucket, and a bag of mulch per plant.
Tools and Materials Needed:
- Guide book
- Spade or Shovel
- Knife
- Mulch
- Bucket
Directions for Planting
Once you have your tools and materials, you will need to lay out your plants and, if necessary, separate the plants from each other. You will then soak the plants, roots first, in a bucket with water for three to six hours. This helps the roots get ready for planting. Next, dig your hole much larger than you need to. Your hole should be two or three times bigger than the plant needs. Trust me, you will be thankful that you dig your hole this big. You will also want to remove grass in the area that you are planting the Privets. This ensures that your Privet gets the essential nutrients that it needs in it’s new home. Dig the whole as deep as necessary. Basically, you will want the hole deep enough that the roots are covered and the top of the soil are level with the base of the plant. Replace the soil around the plant and pack it tightly around so that the North Privet can stand on its own. Add some water to give your North Privet a healthy start. Last, add your mulch around the base of the Privet. You will want the mulch to be about two or three inches deep. Make sure none of the mulch is touching the trunk of the privet. If there are any tags on the North Privet, remove them. Be sure to water your North Privet regularly in the first year. This will ensure that your North Privet will thrive in the years to come.
Planting the North Privet:
- Gather your tools
- Separate the plants
- Soak the roots in a bucket 3-6 hours
- Dig a larger than necessary hole removing grass; about 3 feet.
- Plant the Privet deep enough to cover the roots.
- 2-3 inches of mulch
- Water generously
Enjoy your do-it-yourself privacy hedge.


